Have you ever found yourself in a situation where you’ve accidentally placed an iron-on vinyl design on a garment and realized it wasn’t what you wanted? Or perhaps you want to give new life to an old shirt by removing the iron-on vinyl and starting afresh? Whatever the reason may be, knowing how to remove iron on vinyl from clothes without damaging the fabric is essential.
- Heat transfer vinyl, also known as iron-on vinyl, is a popular crafting material used to decorate fabrics.
- There are several methods you can use to safely remove iron on vinyl, including using commercial vinyl remover, rubbing alcohol, an iron, a hairdryer, acetone, Goo Gone, rubbing petroleum jelly, and the washing machine dryer.
- Each method has its own steps and precautions to follow, so make sure to explore the detailed instructions in this article.
- Consider the type of fabric you’re working with to choose the most suitable removal method.
- By following the right techniques and taking necessary precautions, you can confidently remove iron on vinyl and achieve the desired results.
How to Remove Iron on Vinyl From Clothes?
If you’re looking for a reliable and effective method to remove iron on vinyl from your clothes, using a commercial HTV remover is a great option. These specialized vinyl removers are designed to dissolve the adhesive backing of iron on vinyl, making it easy for you to peel or scrape off the design without damaging the fabric.
To use a commercial vinyl remover, start by turning your shirt inside out to protect the outer layer of the fabric. Apply the HTV remover directly to the backside of the vinyl, ensuring full coverage. Allow the remover to penetrate the adhesive for a few minutes, giving it time to break down the bond between the vinyl and the fabric.
Use Commercial HTV Remover
- Turn the shirt inside out.
- Apply the HTV remover to the backside of the vinyl.
- Allow the remover to sit and penetrate for a few minutes.
- Gradually pull off the decal as it loosens from the fabric.
As you start gently pulling off the decal, you’ll notice that it becomes easier to remove as the adhesive dissolves. Take your time and ensure you don’t rush the process to avoid causing any damage to the fabric. It’s also important to work in a well-ventilated area and wear gloves when using commercial removers due to their strong chemical components.
After successfully removing the iron on vinyl, rinse the shirt thoroughly to remove any residual solvent. To ensure that all traces of the remover are gone, it’s recommended to run the shirt through the washer using a regular cycle.
With the help of a commercial HTV remover, you can effortlessly bid farewell to unwanted iron on vinyl designs and give your clothes a fresh new look.
Using Rubbing Alcohol
Rubbing alcohol can be a handy and budget-friendly alternative for removing iron on vinyl from your clothes. While it may not be as effective as a commercial vinyl remover, it is a safer option to protect your fabrics. Here’s a step-by-step guide on how to remove iron on vinyl using rubbing alcohol:
- Turn the shirt inside out to access the backside of the vinyl decal.
- Dampen a towel with rubbing alcohol or pour it directly on the backside of the decal.
- Gently tug and pull the fabric around the decal to loosen it. Be careful not to damage the fabric.
- If needed, you can repeat the process and soak the decal with alcohol again to further loosen it.
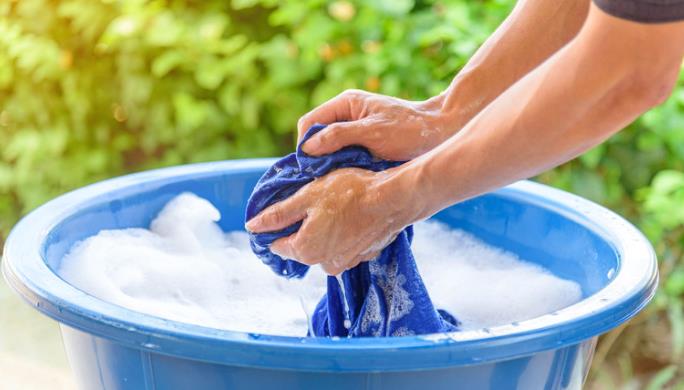
- Rinse the shirt with cold water to remove any residual alcohol.
Pro tip: If you notice any vinyl residue after removing the decal, you can use petroleum jelly to gently remove it from the fabric.
Remember, while rubbing alcohol can be effective in removing iron on vinyl, it’s important to test it on a small, inconspicuous area of the fabric first to ensure it doesn’t cause any damage or discoloration.
Now that you know how to use rubbing alcohol to remove iron on vinyl, let’s explore another method using an iron.

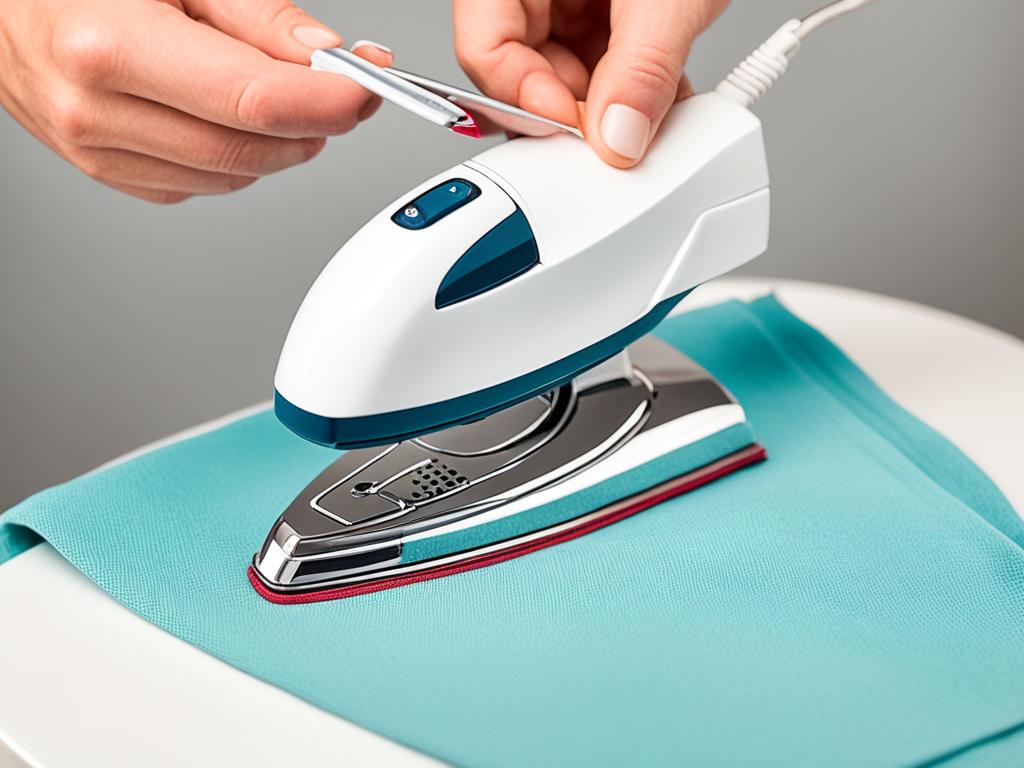
Using An Iron
If you’re working with cotton fabric, using a hot iron is one of the easiest and quickest methods to remove iron on vinyl. However, it can be a bit tricky, so it’s essential to follow the steps carefully. Start by setting your iron to the hottest temperature and placing the shirt with the decal facedown on the ironing board. Press the iron firmly over the decal, and as it starts to separate from the fabric and wrinkle, you can peel it off from the edges. After removing the vinyl, wash the shirt to remove any adhesive residue and put it in the dryer on high heat to ensure all residue is eliminated.

Removing iron on vinyl from your clothes is a process that requires precision and care. Choosing the right method for your fabric type is crucial to ensure the best results. In the case of cotton fabric, using an iron can effectively remove the vinyl without causing damage. Follow the steps outlined above to safely and efficiently remove iron on vinyl using an iron.
Hairdryer
Another method for removing iron on vinyl is using a hairdryer. This method is best for delicate fabrics or when you don’t have access to an iron. Follow these steps to successfully remove iron on transfers with a hairdryer:
- Start by placing cardboard or a towel inside the shirt to provide support.
- Lay the shirt flat on an ironing board.
- Set your hairdryer to the highest temperature.
- Position the hairdryer close to the shirt without touching the vinyl.
- Move the hairdryer back and forth over the vinyl.
- After about 30 seconds, the decal should start to peel off.
- If necessary, use tweezers to help remove the decal.
Using a hairdryer to remove iron on vinyl is a gentle method that minimizes the risk of fabric damage. However, it may take longer compared to other removal techniques.

Using Acetone
Acetone, commonly found in nail polish remover, is an effective method for removing iron on vinyl from clothes. This chemical solvent is safe to use on fabrics and can help you achieve clean results. Here’s how you can use acetone to remove iron on transfers:
Step 1: Turn the shirt inside out to access the backside of the decal.
Step 2: Dampen a cloth or cotton ball with acetone and gently apply it to the back of the decal. Make sure to cover the entire decal area.
Step 3: Allow the acetone to penetrate the adhesive for a few minutes.
Step 4: With a soft cloth or your fingers, start gently tugging and pulling the fabric around the decal. The acetone will help loosen the decal from the fabric.
Step 5: If the decal doesn’t come off easily, you can repeat step 2 and let the acetone soak a bit longer.
Step 6: Once the decal is fully removed, rinse the shirt with cold water to remove any residual acetone.
Optional: If there is any vinyl residue left on the fabric, you can use petroleum jelly to gently rub and remove it.
Tips:
Acetone is a strong chemical, so it’s important to work in a well-ventilated area and wear gloves to protect your skin.
- If you’re working with delicate fabrics, perform a patch test on a small inconspicuous area of the clothing to ensure that the acetone doesn’t cause any damage.
- After removing the iron on vinyl, remember to wash the shirt following its specific care instructions to get rid of any residue and restore its original condition.
- Always dispose of acetone properly and keep it away from open flames or heat sources.

Using Goo Gone
When it comes to removing iron-on vinyl from fabrics, Goo Gone is a highly effective solution. However, it’s important to exercise caution when using this product due to its toxic nature. To ensure your safety, follow these steps:
- Work in a well-ventilated area to minimize exposure to fumes.
- Wear gloves and goggles for protection.
- Cover your working table with a plastic bag or tablecloth to prevent any accidental spills or stains.
- Turn the shirt inside out to access the backside of the iron-on vinyl.
- Spray Goo Gone directly onto the back of the decal, ensuring full coverage.
- Allow the product to sit for approximately 30 seconds to penetrate and loosen the adhesive.
- Once the decal starts to separate from the fabric, use tweezers to gently peel it off. Be careful not to damage the fabric in the process.
- After removing the decal, rinse the shirt in a sink to eliminate any chemical and vinyl residue.
- Finally, wash the shirt in a machine to ensure a thorough clean.
Note: Goo Gone is a powerful vinyl remover that should be handled with care. Always read and follow the manufacturer’s instructions and take the necessary precautions to ensure your safety.
Conclusion
Removing iron on vinyl from clothes may seem like a daunting task, but with the right tips and techniques, you can easily tackle it without causing damage to your fabric. Whether you opt for a commercial vinyl remover, rubbing alcohol, an iron, a hairdryer, acetone, Goo Gone, rubbing petroleum jelly, or the washing machine dryer, the key is to follow the specific steps for each method.
When considering the fabric type, it’s essential to note that heat-based methods should be avoided on polyester fabrics. Additionally, it’s important to work in a well-ventilated area, wear gloves when necessary, and protect your working surface from any potential damage. By adhering to these guidelines and utilizing the appropriate method, you can confidently fix mistakes or transform old shirts into something new.
Remember, patience is key, and it may require some trial and error to find the best method for your specific situation. Don’t be discouraged if one method doesn’t work initially; simply try another until you achieve the desired results. With these tips for removing iron on vinyl, you’ll be equipped with the knowledge and skills to revamp your clothing creations with ease.