Some of the most flexible people can spread their legs over 180 degrees. This is known as doing the splits. It takes a lot of flexibility and strength. But, achieving the splits is possible with preparation and patience.
The key to doing the splits is being patient and working hard. There are two types: the front and side splits. You need to stretch and strengthen different muscles like your hips, glutes, and hamstrings to get ready.
Key Takeaways
- The splits require a lot of flexibility and strength.
- Doing the right exercises can get your body ready for the splits.
- There are two main types of splits, each needing different kinds of flexibility.
- It’s important to be patient and take it slow to avoid getting hurt.
- A good warm-up and cool-down are vital for safe splits practice.
Introduction to Doing the Splits
Learning to do the splits is all about moving your lower body easily. You need a lot of patience and practice. By doing regular stretches and exercises, you get better over time.
Importance of Patience and Active Flexibility Work
Getting flexible enough for the splits doesn’t happen quickly. It needs you to keep trying and work hard. By doing exercises that boost flexibility, you will improve your hip, groin, and hamstring flexibility.
Types of Splits: Front and Side (Straddle)
There’s the front splits and the side (straddle) splits. Front splits need stretchiness in the hamstrings, glutes, and hip flexors. Side splits focus on the inner thighs and hip flexors. Knowing this helps you pick the right exercises for your goals.
Stretches to Prepare for the Splits

Before trying the splits, add a few stretches to your warm-up routine. These are good for the hip flexors, hamstrings, and groin. They prepare your body for the split position.
Runner’s Stretch or Half-Seated Splits
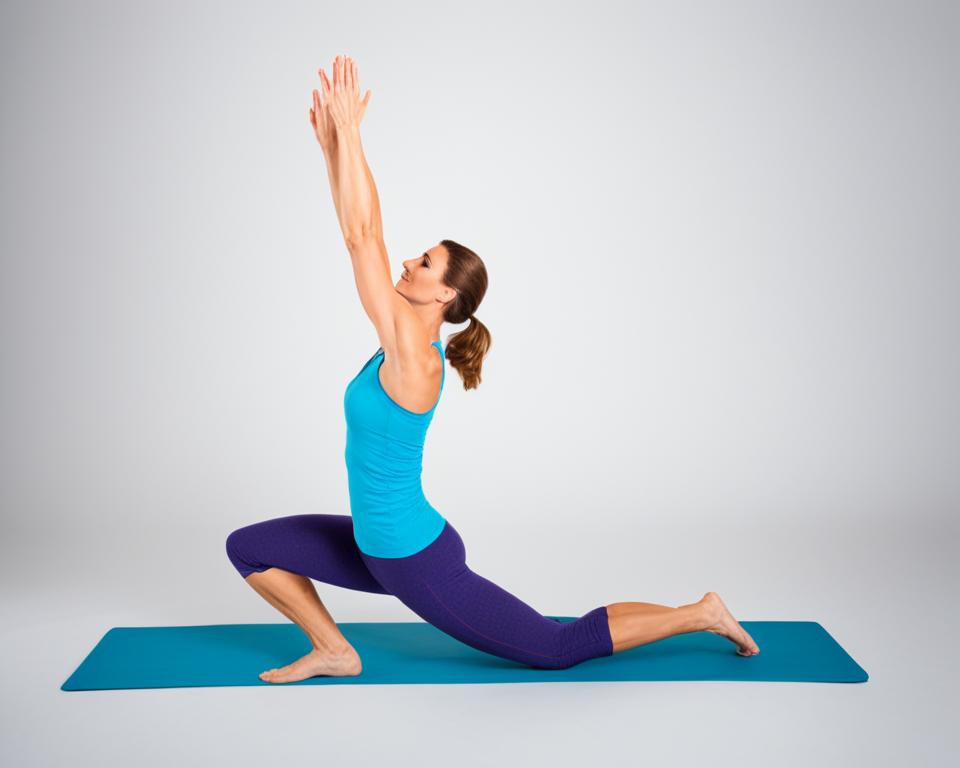
The runner’s stretch works well to loosen your hip flexors and boost hamstring flexibility. Get into a lunge with your front knee bent and back knee on the ground. Lean your hips forward, but keep your chest up. This stretches the front of your hip and the back of your thigh.
Standing Forward Pose
The standing forward pose is good for your hamstring muscles. Stand with feet hip-width apart. Then, bend forward from the hips, trying to touch your toes. Keep your legs straight as you can. This targets your hamstrings.
Half Pigeon Pose
The half-pigeon pose opens the hips and groin. Begin in a tabletop pose. Move one knee forward and across the other leg. Let the shin rest on the floor. Keep your back straight as you lean over your front leg. This stretch helps your hips and outer thighs.
Include these stretches in your warm-up to get ready for the splits. Always pay attention to your body. Stretch until you feel mild tension, not pain.
Warm-Up Before Attempting the Splits

Before you dive into the splits warm-up, take time to get ready. It’s vital to warm up your body well. Boosting your body temperature and joint mobility can make your flexibility preparation better. It also cuts down your chance of getting hurt. Begin with 10 minutes of easy yoga or a quick walk. This helps wake up your muscles before trying the splits.
Warming up right will help you a lot. It raises your body temperature and wakes up important muscles. This makes your stretch during split practice better. Keep in mind, it takes time and a lot of practice to become more flexible and do the splits.
Steps to Do the Side Splits

The side splits, or straddle split, need hip and leg flexibility. They also need strong core muscles. Here’s how to do them.:
Starting Position and Alignment
Stand with your back to a wall at first. This helps you stay straight and not bend too much. Keep your belly tight and look straight ahead. This keeps your body in the right position.
Opening the Legs Gradually
Use your hands on the floor to move your legs to the sides slowly. Try to stretch your legs as far as they will go but stay tall. It’s vital not to hunch over. It can hurt your lower back. So, keep your back straight and your chest up.
Maintaining Proper Form
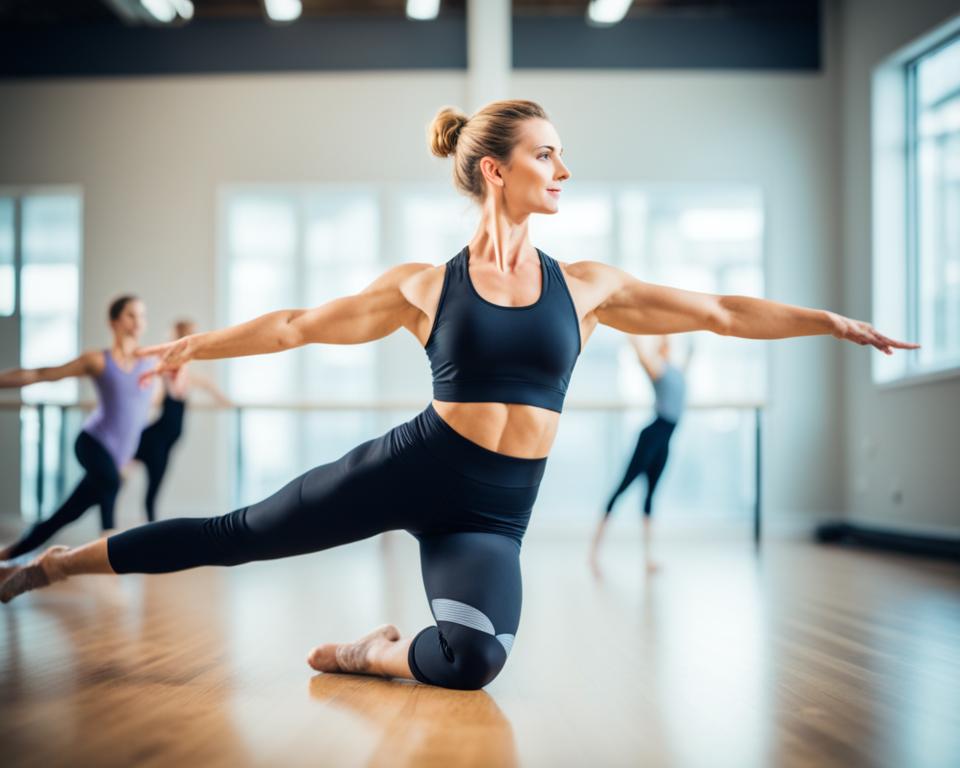
As you stretch, remember to keep your body steady. Use your stomach muscles to keep your upper body still. Make sure to keep your legs straight and tight. Avoid letting your hips drop or your knees turn in. With time and effort, you’ll get the full side split.
Steps to Do the Front Splits

To master the front splits, you need flexibility, control, and patience. Start in a low lunge position with your back knee down. Keep your front foot flat and your hands by your sides for support.
Low Lunge Starting Position
Begin in the low lunge pose with your back knee on the ground and your front foot steady. This sets you up for success and the right path to the front splits.
Gliding the Front Foot Forward
Move your front foot forward slowly as you point your toes. Lower your hips down gently. Your arms help keep you stable, avoiding overstretching. Remember, it’s about controlled and safe stretching to improve your hamstring and hip flexors.
Holding the Stretch Safely
Once you’re stretched as far as you can go comfortably, stay there for 30 seconds to a minute. Take deep breaths and tighten your core to hold the position. As you get more flexible, increase the time you hold the stretch.
To get the front splits right, be careful and patient. Always listen to your body. Focus on controlled stretching and avoiding injuries by injury prevention . With regular practice, you’ll get closer to doing the front splits perfectly.
How to do the splits?
Here are some tips for learning how to do the splits:
- Warm up first. Do some light cardio like jumping jacks or jogging in place for 5 minutes. Then do dynamic stretches like leg swings, knee hugs, and lunges to get your muscles warm.
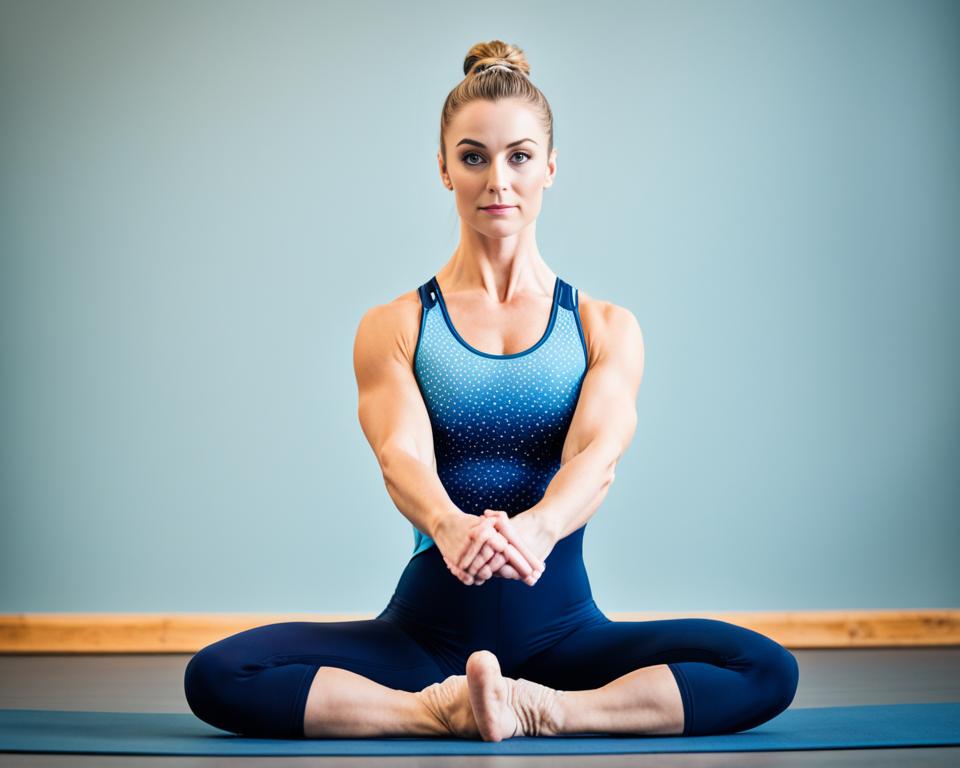
- Start in a straddle stance. Sit down with your legs out wide in a V-shape. Work on pushing your legs out wider day by day.
- Use a wall for assistance. Face the wall with one leg forward and one leg back in a lunge position. Keep your front heel down and push your back knee towards the wall.
- Practice regularly. Flexibility takes time. Try to do split stretches for 10-15 minutes per day.
- Don’t push too hard. You want to feel a stretch, not pain. Go slowly and breath deeply into the stretches.
- Try using a resistance band around your legs to provide gentle outward resistance.
- Use gravity to your advantage. Put your elevated front leg up on a chair or bench.
Benefits of Doing the Splits
The splits make your hips and legs more flexible. This can boost your sports performance and make daily tasks easier. You’ll move more smoothly and lessen the chance of getting hurt.
Improved Hip Mobility and Flexibility
To do the splits, you need to be very flexible. It stretches your hips, hamstrings, and groin. Regularly practicing the splits makes your hips more mobile. This leads to better movement in various activities.
Functional Mobility Benefits
The splits can improve how well you move. This is useful for sports and daily life. For example, they can make your squats stronger and deeper. Or give you more power when doing lunges.
Precautions and Safety
When you’re trying to get better at splits, safety is key. If you stretch too far or too fast, you might get hurt. Make sure your body is ready and take it slow. Not being careful can cause pain in your hips, legs, and back.
Avoiding Overstretching and Injury
To avoid getting hurt, don’t bounce when you stretch. Also, don’t let anyone push you too hard. This can tear your muscles and cause damage. Instead, move slowly and stop if you feel sharp pain.
Engaging Core Muscles
It’s important to keep your core tight when you stretch. This helps keep you steady and protects your back. A strong core also helps with balance and making sure you stretch safely.
The aim is to feel a good, deep stretch without going too far. Always listen to what your body tells you. Adjust if something doesn’t feel right. Focus on keeping safe and preventing injuries by using good technique and engaging your core.
Individual Flexibility and Timeframe
Achieving the splits is different for everyone. It depends on things like prior movement experience and natural flexibility. Your overall fitness level also affects how fast or slow you progress towards the splits.
Factors Affecting Progress
If you have a dance or gymnastics background, you might get the splits in 4-6 weeks with hard work. But if you’re just starting, it might take years to reach that level. Your age, past injuries, and how flexible you naturally are will also impact how quickly you can improve.
Consistency is Key
It’s all about staying consistent with your training. Whether you’re just starting or have been at it for a while, being reliable in your efforts is crucial. If you skip too many days or are not consistent in your training, you might not progress as you’d like. Remember, the body likes regularity. If you keep at it, you can achieve your flexibility goals.
30-Day Split Challenge Experience
Starting a 30-day split challenge is thrilling. It helps boost your flexibility. But, remember to go slow and be careful. Pushing too hard too soon can cause injuries.
Week 1: Realizing Inflexibility
In the first week, you might realize you’re not very flexible. This can be humbling. But, it also shows you how much work you must do. Focus on basic stretches that help your hamstrings, hips, and groin.
Week 2: One Stretch at a Time
Week two is about perfecting stretches. Always warm up before you stretch. This prevents soreness. You’ll see improvements in motion as you focus on certain flexibility exercises.
Week 3: Importance of Consistency
Keeping up with your routine is key. Missing a day can slow your progress. Find a schedule that fits your life and stick to it. Even a few minutes of practice daily adds up over time. This builds the dedication you need.
Week 4: Stretching Longer and Feeling Strong
By the fourth week, your flexibility and strength might amaze you. If you’ve kept at it, now you might stretch for longer. You’ll feel your muscles ease into the stretch more. This progress is encouraging. It drives you forward with more energy towards mastering the splits.
Tips for Successful Splits Training
A proper warm-up routine is key for working towards the splits. It focuses on key muscle groups. Also, body awareness and listening to your body are vital to avoid injuries. They help you make the most of your training. Gradual progression is more effective than rushing into the splits. It ensures you get flexible safely.
Proper Warm-Up and Stretching Routine
To start, warm up well to get your body ready for the splits. This includes dynamic movements and muscle activation exercises. Then, focus on stretches for the hips, hamstrings, and groin.
Listening to Your Body
Listen to your body while training for the splits. If something feels off, maybe it hurts, stop or adjust. This prevents overstretching and injuries. Always focus on injury prevention.
Gradual Progression
Be patient and consistent in your split training. Don’t push too hard to get the split fast. Instead, slowly increase the depth and duration of your stretches. This will help your body adjust safely. It makes you more flexible over time.
