Introduction
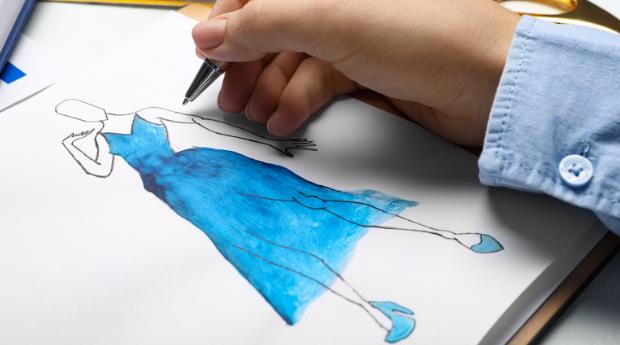
Welcome to the world of DIY dress alterations, where creativity meets practicality! Hemming a dress at home is like giving your wardrobe a personalized touch. Whether you’re shortening a thrift store gem or adjusting a special occasion outfit, mastering the art of hemming can elevate your style game. Today, we’ll guide you through the step-by-step process of hemming a dress right in the comfort of your own home. So grab your measuring tape, and let’s get stitching!
Tools and Materials Needed
Before you dive into the world of DIY dress alterations, make sure you have the essential tools and materials on hand. The measuring tape is your best friend for precise length adjustments, ensuring your hem turns out just right.
Sharp scissors are crucial for cutting fabric cleanly without fraying edges. Use them with care to achieve a professional finish. Pins play a key role in holding the fabric securely in place as you work on hemming your dress.
Don’t forget to choose a needle and thread that match the fabric of your dress for seamless stitching. If you prefer a quicker approach, having a sewing machine handy can speed up the process while still delivering great results.
An iron is indispensable for pressing the fabric and giving your newly hemmed dress a polished look. Having these tools ready will set you up for success in mastering the art of hemming at home!
Preparing Your Dress for Hemming
Before you dive into hemming your dress, the first step is crucial: preparing your garment for alterations. It’s like setting the stage for a successful sewing session!
Put on your dress and slip into the shoes you’ll pair it with – this helps you determine the perfect length. Pinning at this stage ensures precision in achieving your desired look. Once pinned, take off the dress to lay it flat for accurate measurements.
By laying out the dress evenly on a surface, measuring becomes a breeze. Adjust any pins that may need shifting to maintain consistency around the hemline. This attention to detail sets the foundation for a beautifully hemmed result.
Now that your dress is prepped and ready, you’re one step closer to creating a customized piece that fits just right!
Choosing the Right Hem Type
When it comes to choosing the right hem type for your dress, consider the fabric and style to make the perfect choice. For light and sheer fabrics, a rolled hem works wonders by providing a delicate finish that suits the material beautifully.
On the other hand, if you’re working on dress pants or skirts where visible stitching is a no-go, opt for a blind hem. This method ensures that your hems look seamless and polished without any stitching peeking through.
The key is to select a hemming technique that not only complements the design of your dress but also aligns with the fabric type. By making this thoughtful decision based on these factors, you can elevate the overall look of your garment effortlessly.
How to Hem a Dress at Home? – DIY Guide
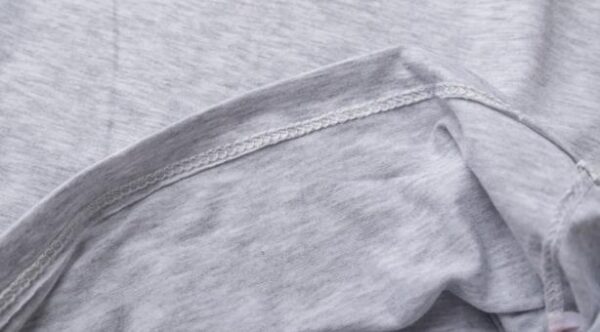
Hand-Sewing a Hem: Step-by-Step Guide
Hand-sewing a hem is like creating a tailored finish for your dress, adding that personal touch that makes it truly yours. To start, fold the fabric inside at the desired length and secure it with pins – this step sets the stage for your sewing journey.
Next, thread your needle and knot the end securely. Starting near a seam ensures a seamless look while providing stability to your stitches as you work around the hem. The key here is patience and precision; small, even stitches will give you that professional finish you’re aiming for.
As you sew along, take in each stitch intentionally, ensuring they are neat and closely spaced. It’s these tiny details that elevate your hand-sewn hem from basic to beautiful. Once you reach the end of your hemline, secure it with another knot before trimming off any excess thread.
With each completed stitch comes satisfaction – knowing that your DIY skills have transformed a simple task into an artful creation tailored just for you.
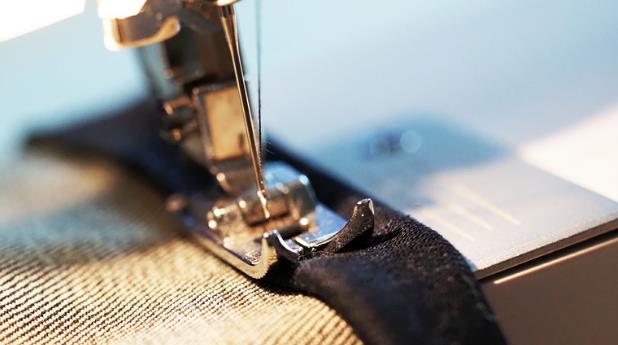
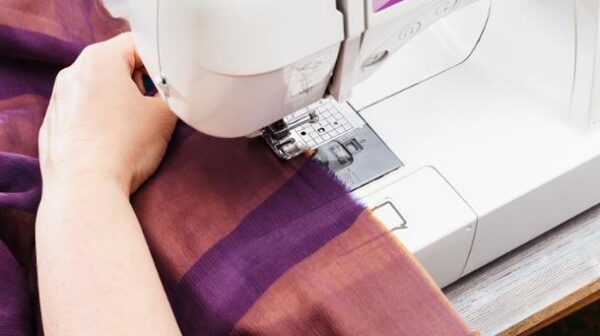
Using a Sewing Machine for Faster Results
Using a sewing machine can speed up the hemming process significantly. Once you have your machine set up with matching thread, it’s time to fold and pin the hem at the desired length. This step ensures that your stitches will be neat and even along the edge of the fabric.
Selecting a straight stitch on your sewing machine is typically best for hemming tasks. Before sewing on your dress, it’s wise to test the stitch on a spare piece of fabric to ensure proper tension and stitch length. This way, you can make any necessary adjustments before working on the actual garment.
As you sew around the hemline, remember to remove pins as you progress. This prevents accidental breakage of needles or damage to your machine. Taking this extra care during stitching will result in a clean and professional-looking hem once completed – perfect for achieving faster results when using a sewing machine for dress alterations!
Finishing Touches: Ironing and Steaming
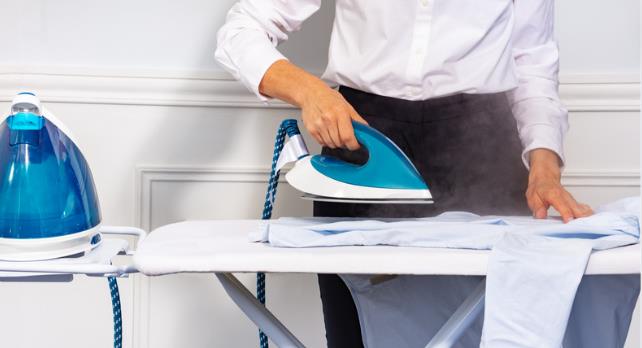
Once you’ve finished sewing your newly hemmed dress, it’s time to give it that final touch of perfection. Ironing and steaming play a crucial role in the overall look of your garment.
After all the careful stitching, pressing the hem with an iron on the suitable setting for your fabric ensures that everything lays flat and neat. This step not only smooths out any wrinkles but also helps in defining the crispness of your new hem.
By using gentle heat and steam, you can bring out the professional finish that will elevate your DIY project to a whole new level. Don’t rush this part; take your time to ensure that every inch is pressed perfectly for a polished appearance.
Remember, these little details make a big difference in how well-executed and refined your hemming project looks. So, grab that iron and watch as your dress transforms before your eyes!
Troubleshooting Common Hemming Issues
Encountering issues like puckering or uneven hemming can be frustrating when trying to hem a dress at home. Before getting discouraged, take a closer look at the fabric and pin placement. Puckering may indicate that the fabric is being pulled too tightly while sewing, causing it to bunch up. Check if the pins are evenly spaced and adjust as needed to ensure smooth stitching.
If you notice an uneven hem after sewing, it could be due to inconsistent folding or stretching of the fabric during stitching. Make sure the fabric is lying flat and smooth before sewing each section. Taking your time and paying attention to these details can make a big difference in achieving a professional-looking hem.
Don’t get disheartened by these common hiccups; consider them learning opportunities in your DIY dress alterations journey. By troubleshooting and making small adjustments along the way, you’ll gain confidence in your sewing skills and create beautifully hemmed dresses tailored just for you!
Care and Maintenance of Your Hemmed Dress
After putting in the effort to hem your dress, it’s essential to care for it properly. Following the fabric care instructions ensures that your newly altered garment looks fresh and fabulous.
When washing your hemmed dress, opt for a gentle cycle with cold water to prevent any unnecessary stress on the fabric. High heat can be detrimental, causing shrinkage and potentially altering the hem you worked so hard on.
If possible, consider handwashing delicate fabrics or using a mesh laundry bag in the machine to protect them during wash cycles. It’s all about maintaining those meticulous alterations you made for a perfect fit.
By taking these simple precautions when laundering your dress, you’ll prolong its lifespan and keep it looking as good as new. A little extra care goes a long way!
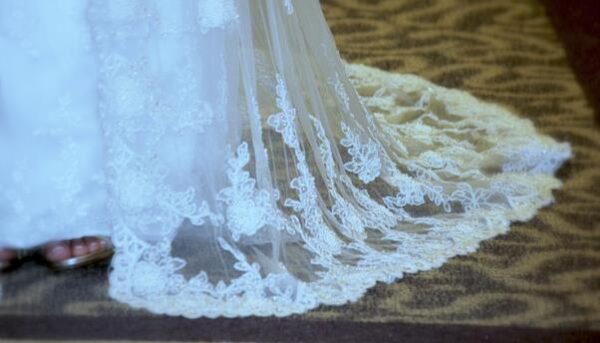
DIY Hemming Inspiration: Before and After Transformations
Are you ready to be inspired by the magic of before and after transformations in hemming projects? Just imagine the possibilities as you browse through photos showcasing dresses transformed from too long to just right. Witnessing these changes can ignite your creativity and motivate you to take on your own DIY hemming endeavors.
The power of a well-executed hem is truly remarkable. It not only alters the length of a dress but also enhances its overall look, fit, and feel. As you explore these stunning transformations, envision how customizing the length of your garments can breathe new life into your wardrobe.
With each stitch, you have the opportunity to infuse your personal style into every piece of clothing you own. Hemming at home allows you to tailor your outfits without breaking the bank or compromising on quality. Embrace this creative process with joy and enthusiasm as you embark on your very own sewing adventures.
Get ready to unlock your inner fashion designer and unleash your imagination through the art of hemming. Happy sewing!
FAQs on how to hem dress
What is the easiest way to hem a dress?
The easiest way to hem a dress is by using hemming tape. This method involves no sewing and simply requires you to place the double-sided strip of adhesive between the fabric of the hem and iron it to create a bond. Ensure the fabric is clean and dry, measure the desired length, fold the hem to the inside, place the tape inside the fold, and press with a hot iron to secure the hem.
How do you hem a formal dress without sewing?
To hem a formal dress without sewing, you can use hemming tape or fabric glue. These materials provide a strong bond that is suitable for lightweight and delicate fabrics typically used in formal dresses. Prepare the hem by measuring and folding it to the desired length, then apply the tape or glue inside the fold and press firmly. Allow it to set according to the product instructions to ensure a strong hold.
How do you hem clothes by hand?
Hemming clothes by hand is straightforward:
- Measure and pin the hem to the desired length.
- Cut any excess fabric, leaving about an inch to fold inside.
- Thread a needle with a strong thread that matches the fabric.
- Fold the fabric inside and start sewing from inside the hem to hide the knot.
- Use small, even stitches, such as a slip stitch or blind stitch, to sew the hem. Keep the stitches neat and invisible on the outside of the garment.
- Tie off the thread securely when you complete the hemming.
How do you shorten a long dress?
To shorten a long dress:
- Put on the dress and decide the new length. Use pins or chalk to mark the length all around.
- Take off the dress and lay it flat on a work surface.
- Measure from the bottom of the dress to the mark, ensuring it’s even all around.
- Cut the excess fabric, if necessary, leaving enough for a hem (usually 1-2 inches).
- Choose a hemming method (sewing by hand, using a sewing machine, or using hem tape if you prefer not to sew).
- Finish the hem by sewing or applying hem tape as described in the methods above.