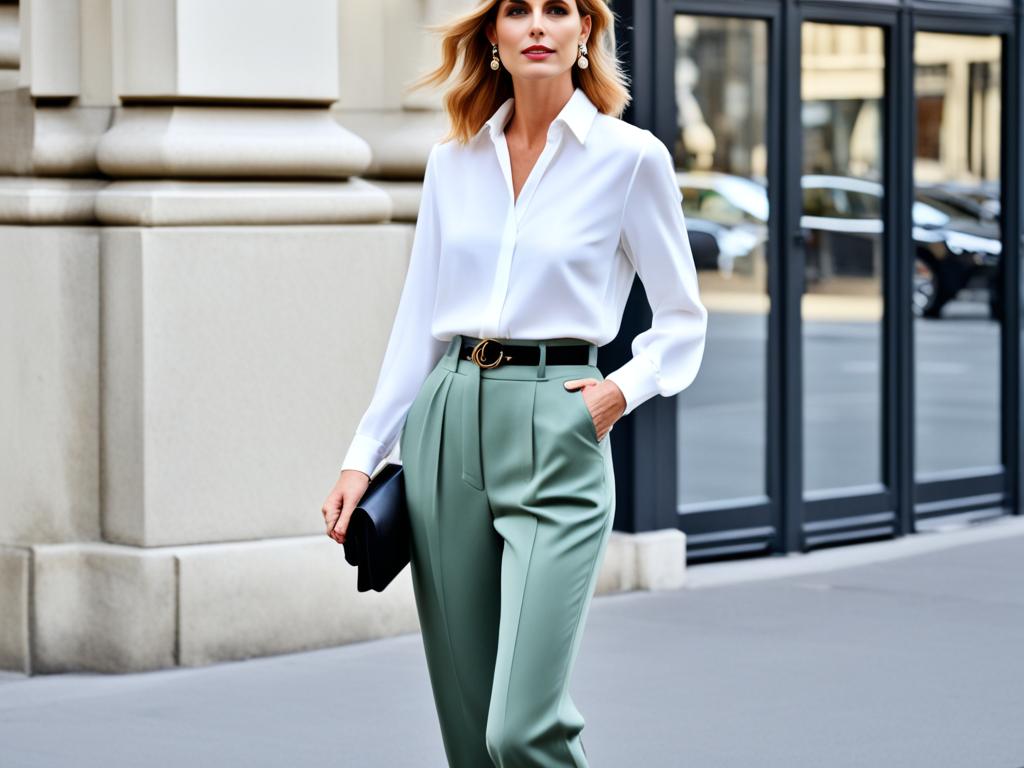
Are you tired of searching for the perfect dress but never finding one that suits your style? Have you ever considered making your own dress at home? With the rise of do-it-yourself (DIY) culture, more and more people are discovering the joy and satisfaction of creating their own clothing. Making a dress may seem daunting, especially if you have no sewing experience, but with the right guidance and a little patience, you can craft a beautiful garment that fits you perfectly.
In this article, we will guide you through easy steps on how to make a dress at home, giving you the confidence to unleash your creativity and tailor your own fashion statement. Whether you are a seasoned pro or a complete beginner, this DIY guide will provide you with all the information you need to create a stunning dress that reflects your individuality. So, let’s dive in and learn how to make a dress that you will be proud to wear!
How to Make a Dress at Home? – DIY Guide
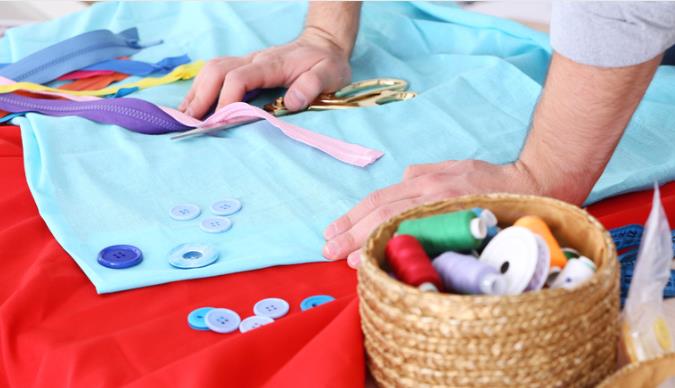
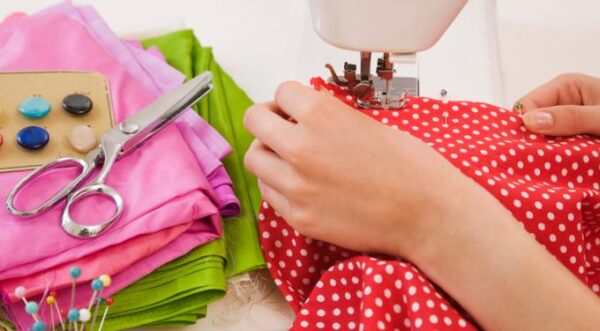
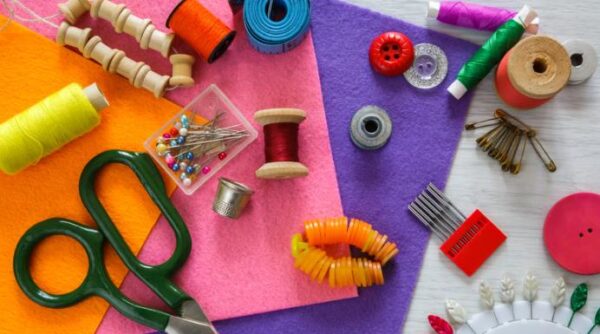
Gather Supplies and Materials for Your Dressmaking Project
If you’ve decided to delve into the world of dressmaking and create your own fabulous dresses, the first step is to gather all the necessary supplies and materials. Having the right tools and fabrics on hand will make the process smoother and more enjoyable. So, how do you go about preparing for your dressmaking project?
Firstly, you’ll need a sewing machine. While hand-sewing is an option, a sewing machine will save you time and effort. Look for a machine that suits your skill level and budget. Additionally, ensure you have a good pair of fabric scissors, pins, needles, and a seam ripper for those inevitable mistakes.
Next, consider the type of dress you want to make. This will determine the type and amount of fabric you’ll need. Choose fabrics that are appropriate for the season and fit the style of the dress. Remember to purchase extra fabric for any mistakes or alterations.
Apart from fabrics, don’t forget about other materials such as zippers, buttons, and thread. Choose these items carefully to match the color and style of your dress. Interfacing and lining are also important for adding structure and a professional finish to your dress.
Choosing the Right Fabric for Your DIY Dress
When it comes to creating your own dress, choosing the right fabric is essential. The fabric you select will not only determine the final look and feel of your garment, but it will also impact how easy it is to work with and how well it drapes on your body. So, how do you go about selecting the perfect fabric for your DIY dress?
First and foremost, consider the purpose of your dress. Are you making a casual sundress or an elegant evening gown? Different fabrics suit different occasions. For a lightweight, flowy dress, opt for fabrics like chiffon or silk. If you’re aiming for a more structured piece, fabrics such as cotton or twill might be more suitable. Consider the climate as well – breathable materials like linen or cotton are excellent choices for warmer weather.
Another crucial factor is the level of difficulty when it comes to working with the fabric. If you’re a beginner, it’s advisable to choose fabrics that are easy to handle, like cotton or knit fabrics. They are more forgiving and less likely to stretch or slip while sewing. On the other hand, if you’re an experienced sewer, you can explore more challenging fabrics, such as satin or velvet, which require more skill and attention to detail.
Lastly, take your personal style into account. Think about the colors, prints, and textures that you love. The fabric you choose should align with your personal taste and vision for the dress. Look for inspiration from fashion magazines, online resources, or even in your favorite ready-to-wear styles. Experiment with different combinations until you find the perfect match that brings your design to life.
Taking Measurements and Creating a Pattern
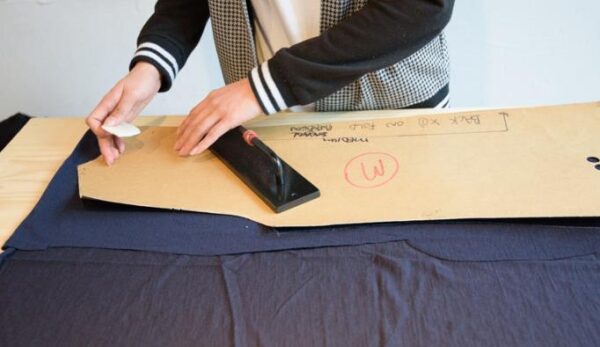
When it comes to creating your own dress, one of the most important steps is taking accurate measurements and creating a pattern. Whether you’re a beginner or have some experience in sewing, following the right process can make all the difference in the final outcome of your garment. In this article, we’ll dive into the basics of how to make a dress by taking measurements and creating a pattern.
First and foremost, you’ll need a tape measure and a friend to help you get precise measurements. Start by measuring your bust, waist, and hips. Ensure that the tape measure is snug but not too tight, as this will affect the fit of your dress. Additionally, take measurements of your shoulder width, arm length, and neck circumference.
Once you have all your measurements, it’s time to create a pattern. Begin by selecting a simple dress style that suits your body shape and sewing skills. You can find free patterns online, or if you’re feeling more adventurous, you can draft your own pattern using your body measurements.
To create a pattern, you’ll need some basic tools such as pattern paper, a ruler, and a pencil. Carefully transfer your measurements onto the pattern paper, making sure to add seam allowances and any necessary adjustments for ease and comfort. Additionally, don’t forget to mark any darts, pleats, or gathering points that may be part of your chosen dress style.
Taking accurate measurements and creating a pattern are crucial steps in ensuring that your finished dress fits you perfectly. By following these simple guidelines, you’ll have a solid foundation for creating a dress that not only looks great but also feels great to wear. So, grab your tape measure and start on your journey of making a dress that is uniquely yours.
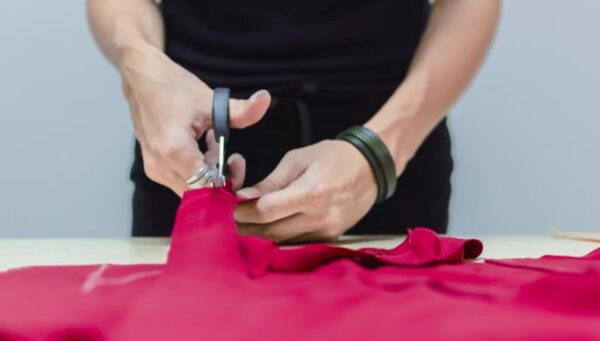
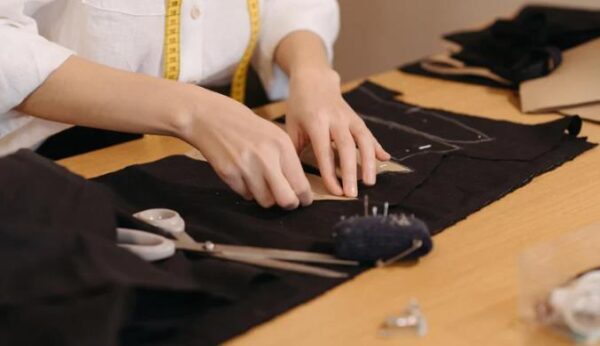
Cutting and Preparing Fabric Pieces for Sewing
Cutting and preparing fabric pieces for sewing is an essential step in the process of creating a garment. Whether you’re a beginner or a seasoned sewist, understanding how to properly cut fabric can greatly impact the final outcome of your project. So, if you’re wondering how to make a dress, here are some tips to get you started.
First, it’s important to lay out your fabric on a flat surface, ensuring that it’s free from any wrinkles or creases. Use pattern weights or pins to secure the pattern pieces onto the fabric, ensuring they are aligned with the grainline. The grainline indicates the direction of the fabric threads and plays a crucial role in how the garment will drape and hang.
Next, carefully cut around the pattern pieces using fabric scissors or a rotary cutter, following the marked lines. Be sure to leave a small margin around each piece for seam allowances. If your pattern does not include seam allowances, remember to add them as you cut.
Once you’ve cut out all the fabric pieces, mark any necessary notches, darts, or pleats. These markings help with alignment during construction and ensure a professional-looking finish. Transfer any additional pattern markings onto the fabric using tailor’s chalk or washable fabric markers.
Now that your fabric pieces are cut and marked, you’re ready to start sewing your dress. Remember to follow the sewing instructions provided with your pattern and take your time to achieve precise and accurate stitches. With practice, cutting and preparing fabric pieces for sewing will become second nature, and you’ll be on your way to creating beautiful handmade garments.
Sewing Techniques: From Seams to Hems
Sewing is an essential skill that allows us to create and repair clothing. From simple alterations to intricate designs, understanding different sewing techniques is crucial for any aspiring seamstress. In this article, we will explore some essential sewing techniques, focusing specifically on seams and hems.
When it comes to constructing a garment, understanding how to properly sew seams is vital. There are several types of seams to consider, such as the straight, French, and flat-felled seams. Each type has its own unique benefits and applications. Straight seams are the simplest and most commonly used, providing a clean and durable finish. French seams, on the other hand, enclose raw edges for a polished and professional look. If you’re aiming for extra strength, the flat-felled seam is ideal, commonly used in jeans and heavy-duty fabrics.
Once the seams are completed, attention must be turned towards the hems. The hemline of a garment not only adds a finishing touch but also affects its overall look and fit. The most common way to hem is by folding the fabric twice and stitching it in place. However, there are various hemming techniques available, such as blind hems and rolled hems. A blind hem, often used in formal wear, creates an invisible finish by folding the fabric in a particular way. On the other hand, a rolled hem is perfect for lightweight and delicate fabrics, resulting in a narrow, rolled edge.
Now that we’ve covered the basics of sewing seams and hems, let’s discuss how to make a dress using these techniques. First, select a pattern that matches your skill level and desired style. Carefully follow the instructions, paying close attention to the recommended seam allowances and hem allowances. Take your time in cutting and sewing the fabric, ensuring precision and accuracy. Don’t be afraid to experiment with different seam finishes to achieve the desired look. Finally, when it comes time to hem the dress, consider the fabric weight and drape to choose the most suitable technique.
Adding Details: Necklines, Sleeves, and Pockets
When it comes to designing and making a dress, there are several elements that can truly enhance the overall look and functionality of the garment. Adding details such as necklines, sleeves, and pockets can make a dress stand out and also serve practical purposes. Whether you are a beginner or an experienced dressmaker, learning how to incorporate these details can take your creations to the next level.
Necklines play a crucial role in defining the style and character of a dress. There are countless options to choose from, including a classic crew neck, a sophisticated boat neck, or a flirty sweetheart neckline. Consider the occasion, body shape, and personal style when deciding on the neckline. Experiment with different patterns and fabrics to see what works best for you. A well-chosen neckline can completely transform the look of a dress and add an element of elegance or playfulness.
Sleeves are another feature that can greatly impact the overall design of a dress. From long and fitted sleeves to short and fluttery ones, there is a style for every taste and season. Don’t be afraid to mix and match different sleeve patterns with various dress styles. Experimenting with sleeve length and shape can create a unique look and add versatility to your dress. Keep in mind that the fabric choice is crucial to achieving the desired effect. Flowy fabrics work well for loose and airy sleeves, while structured fabrics are better suited for more tailored and fitted sleeves.
Lastly, incorporating pockets into a dress can combine fashion with functionality. Pockets are not only practical for storing small essentials but they can also add an interesting detail to the design. Consider the size and placement of the pockets to ensure they don’t disrupt the overall aesthetic of the dress. Hidden side pockets or front patch pockets can keep the dress sleek and stylish while providing a convenient place to keep your belongings. Adding pockets to a dress is a great way to make it more wearable and practical, without compromising on style.
Final Touches: Putting It All Together
Putting together a complete outfit can be both thrilling and daunting. Whether you’re styling a casual everyday look or preparing for a special occasion, it’s all about the final touches. And one of the most rewarding projects to tackle is making your own dress. So, let’s dive into how to make a dress and add those finishing details that will take your creation to the next level.
Once you’ve selected the perfect fabric and cut out all the necessary pieces, it’s time to sew them together. Pay close attention to the fit and make any necessary adjustments along the way. Once the main construction is complete, it’s time to focus on the small details that will truly bring your dress to life.
First, consider adding some embellishments. This could be anything from delicate lace trim to intricate beadwork. Be mindful of the overall design and aesthetic you’re aiming for, ensuring that the embellishments complement the style of the dress. Don’t be afraid to get creative and experiment with different placement options.
Next, it’s time to tackle the closures. Depending on the dress style, you may need to insert a zipper, buttons, or even snaps. Take your time to ensure a clean and professional finish. These closures are not only functional but can also become a beautiful part of the dress’s design, adding a touch of elegance or modernity.
Finally, don’t forget to add the finishing touches to the hemline. This is where you can choose between a clean and simple finish or explore more decorative options. Consider using a rolled hem or adding a decorative trim to enhance the overall look of the dress. Take the time to press and steam the hemline to achieve a polished appearance.
Try It On: Fitting and Making Adjustments
With online shopping becoming more prevalent, many people are turning to virtual fitting rooms to try on clothes before making a purchase. These virtual fitting rooms allow you to upload a photo of yourself and virtually try on various outfits, giving you a better idea of how they will look on you. But what happens when the clothes don’t fit perfectly? Don’t worry, there are ways to make adjustments to ensure that your new dress fits like a charm.
One common issue when it comes to fitting is the length of the dress. If you find that your new dress is too long, you can easily hem it. Start by putting on the dress and marking the desired length with a pin. Then, remove the dress and use a sewing machine or even hand stitch to create a new hemline. If you’re not confident in your sewing skills, you can also take the dress to a professional tailor who will make the necessary adjustments for you.
Another issue you may encounter is a dress that is too loose or too tight around certain areas. To fix this, you can use a belt to cinch in the waist or add darts to create a more tailored fit. If the dress is too tight, you can also consider adding panels of fabric in strategic places to allow for more room. Again, if you’re not comfortable making these adjustments yourself, a tailor can help you achieve the perfect fit.
When it comes to how to make a dress fit better, it’s all about finding the right adjustments for your body type and preferences. Don’t be discouraged if a dress doesn’t fit perfectly right off the rack. With a few simple alterations, you can transform it into a dress that flatters your figure and makes you feel confident. So the next time you’re faced with a dress that needs some tweaking, give these tips a try and see the difference it can make.
Styling and Accessories: Showcasing Your DIY Dress
When it comes to showcasing your DIY dress, styling and accessories are the key to elevating your look and making a statement. Creating your own dress can be a rewarding and creative experience, but it’s important to think about how to complement and enhance the overall design.
Firstly, consider the style and fabric of your dress. If you’ve made a flowy summer dress, opt for accessories that are light and airy. A bohemian-inspired flower crown or delicate gold jewelry can add a whimsical touch. On the other hand, if you’ve created a structured, tailored dress, go for bolder accessories like statement earrings or a chunky belt to highlight the clean lines of your design.
Next, pay attention to the colors and patterns in your dress and find ways to incorporate them into your overall look. If your DIY dress features a colorful floral print, choose accessories in coordinating colors to tie the whole ensemble together. Alternatively, if your dress is a solid color, use accessories to introduce pops of contrasting hues for an eye-catching effect.
Finally, consider the occasion you’ll be wearing your dress to. If it’s a casual daytime event, opt for more relaxed accessories like a straw hat and sandals. For a formal evening affair, choose accessories with a touch of elegance, such as a sparkling clutch or a pair of heels. By tailoring your styling and accessories to the occasion, you’ll ensure that your DIY dress stands out from the crowd.
Tips and Tricks for Successful Dressmaking at Home
Dressmaking at home can be a rewarding and fulfilling hobby, allowing you to create unique and personalized outfits for yourself and your loved ones. Whether you’re a beginner or have some experience, incorporating a few tips and tricks can make your dressmaking journey even more successful.
First and foremost, having a well-equipped sewing kit is essential. Invest in quality scissors, pins, measuring tape, and a sewing machine that suits your needs. Additionally, having a variety of thread colors and different types of needles will ensure you’re prepared for any dressmaking project.
Next, take your measurements accurately before embarking on a dressmaking project. This step is crucial as it will save you time and frustration in the long run. Measure your bust, waist, hips, and length measurements, and use a reliable pattern or tutorial that matches your measurements.
When it comes to selecting the fabric, choose one that suits the style and purpose of the dress. Keep in mind that different fabrics require different techniques, so it’s important to consider your skill level and the required sewing techniques when making your choice. Additionally, pre-washing the fabric is recommended to prevent any unwanted shrinkage after completing the dress.
Finally, when sewing, always take your time and pay attention to details. Carefully follow the instructions or pattern and make sure to press your seams as you go along. This small step can make a huge difference in the final outcome of your dress. Don’t forget to try on the dress as you progress to ensure proper fit and make any necessary adjustments.